Loading...
Home
About Us
back
Our History
Our Capabilities
Materials & Finishes
Custom Design
Why Choose LEE
Staff
Photo Gallery
StallBuilder
Resources
back
Ask an Expert
Newsletter
Product Literature
Resources
Warranty
FAQs
Videos
Kraft Horse Walkers
Barn Spotlight Form
Installation Instruction
Decision Center
back
Yoke Options
Latches & Hinges
Sliding Door Track
Wood Fill
Colors & Finishes
Crosshatch Mesh
Feed & Water Options
Stall Door Yoke Options
V-Groove Panel Upgrade
Contact Us
Products
back
Stall Front Systems
back
High Stall Fronts
Low Stall Fronts
Stall Doors & Grills
Stall Doors
Stall Partitions
Aisle Entry Doors
Exterior Stall Doors
Stall Screens
Barn Windows
Gates
back
Entrance Gates
Paddock Gates
Hardware and Accessories
Call Us! +1 859-234-6920
NEWSLETTER
Home
About Us
Our History
Our Capabilities
Materials & Finishes
Custom Design
Why Choose LEE
Staff
Photo Gallery
StallBuilder
Resources
Ask an Expert
Newsletter
Product Literature
Resources
Warranty
FAQs
Videos
Kraft Horse Walkers
Barn Spotlight Form
Installation Instruction
Decision Center
Yoke Options
Latches & Hinges
Sliding Door Track
Wood Fill
Colors & Finishes
Crosshatch Mesh
Feed & Water Options
Stall Door Yoke Options
V-Groove Panel Upgrade
Contact Us
Products
Stall Front Systems
High Stall Fronts
Low Stall Fronts
Stall Doors & Grills
Stall Doors
Stall Partitions
Aisle Entry Doors
Exterior Stall Doors
Stall Screens
Barn Windows
Gates
Entrance Gates
Paddock Gates
Hardware and Accessories
Stall Front Systems
Stall Doors
Stall Partitions
Aisle Entry Doors
Exterior Stall Doors
Stall Screens
Barn Windows
Gates
Hardware and Accessories
Feed & Water
3 Photos -
Photo Gallery
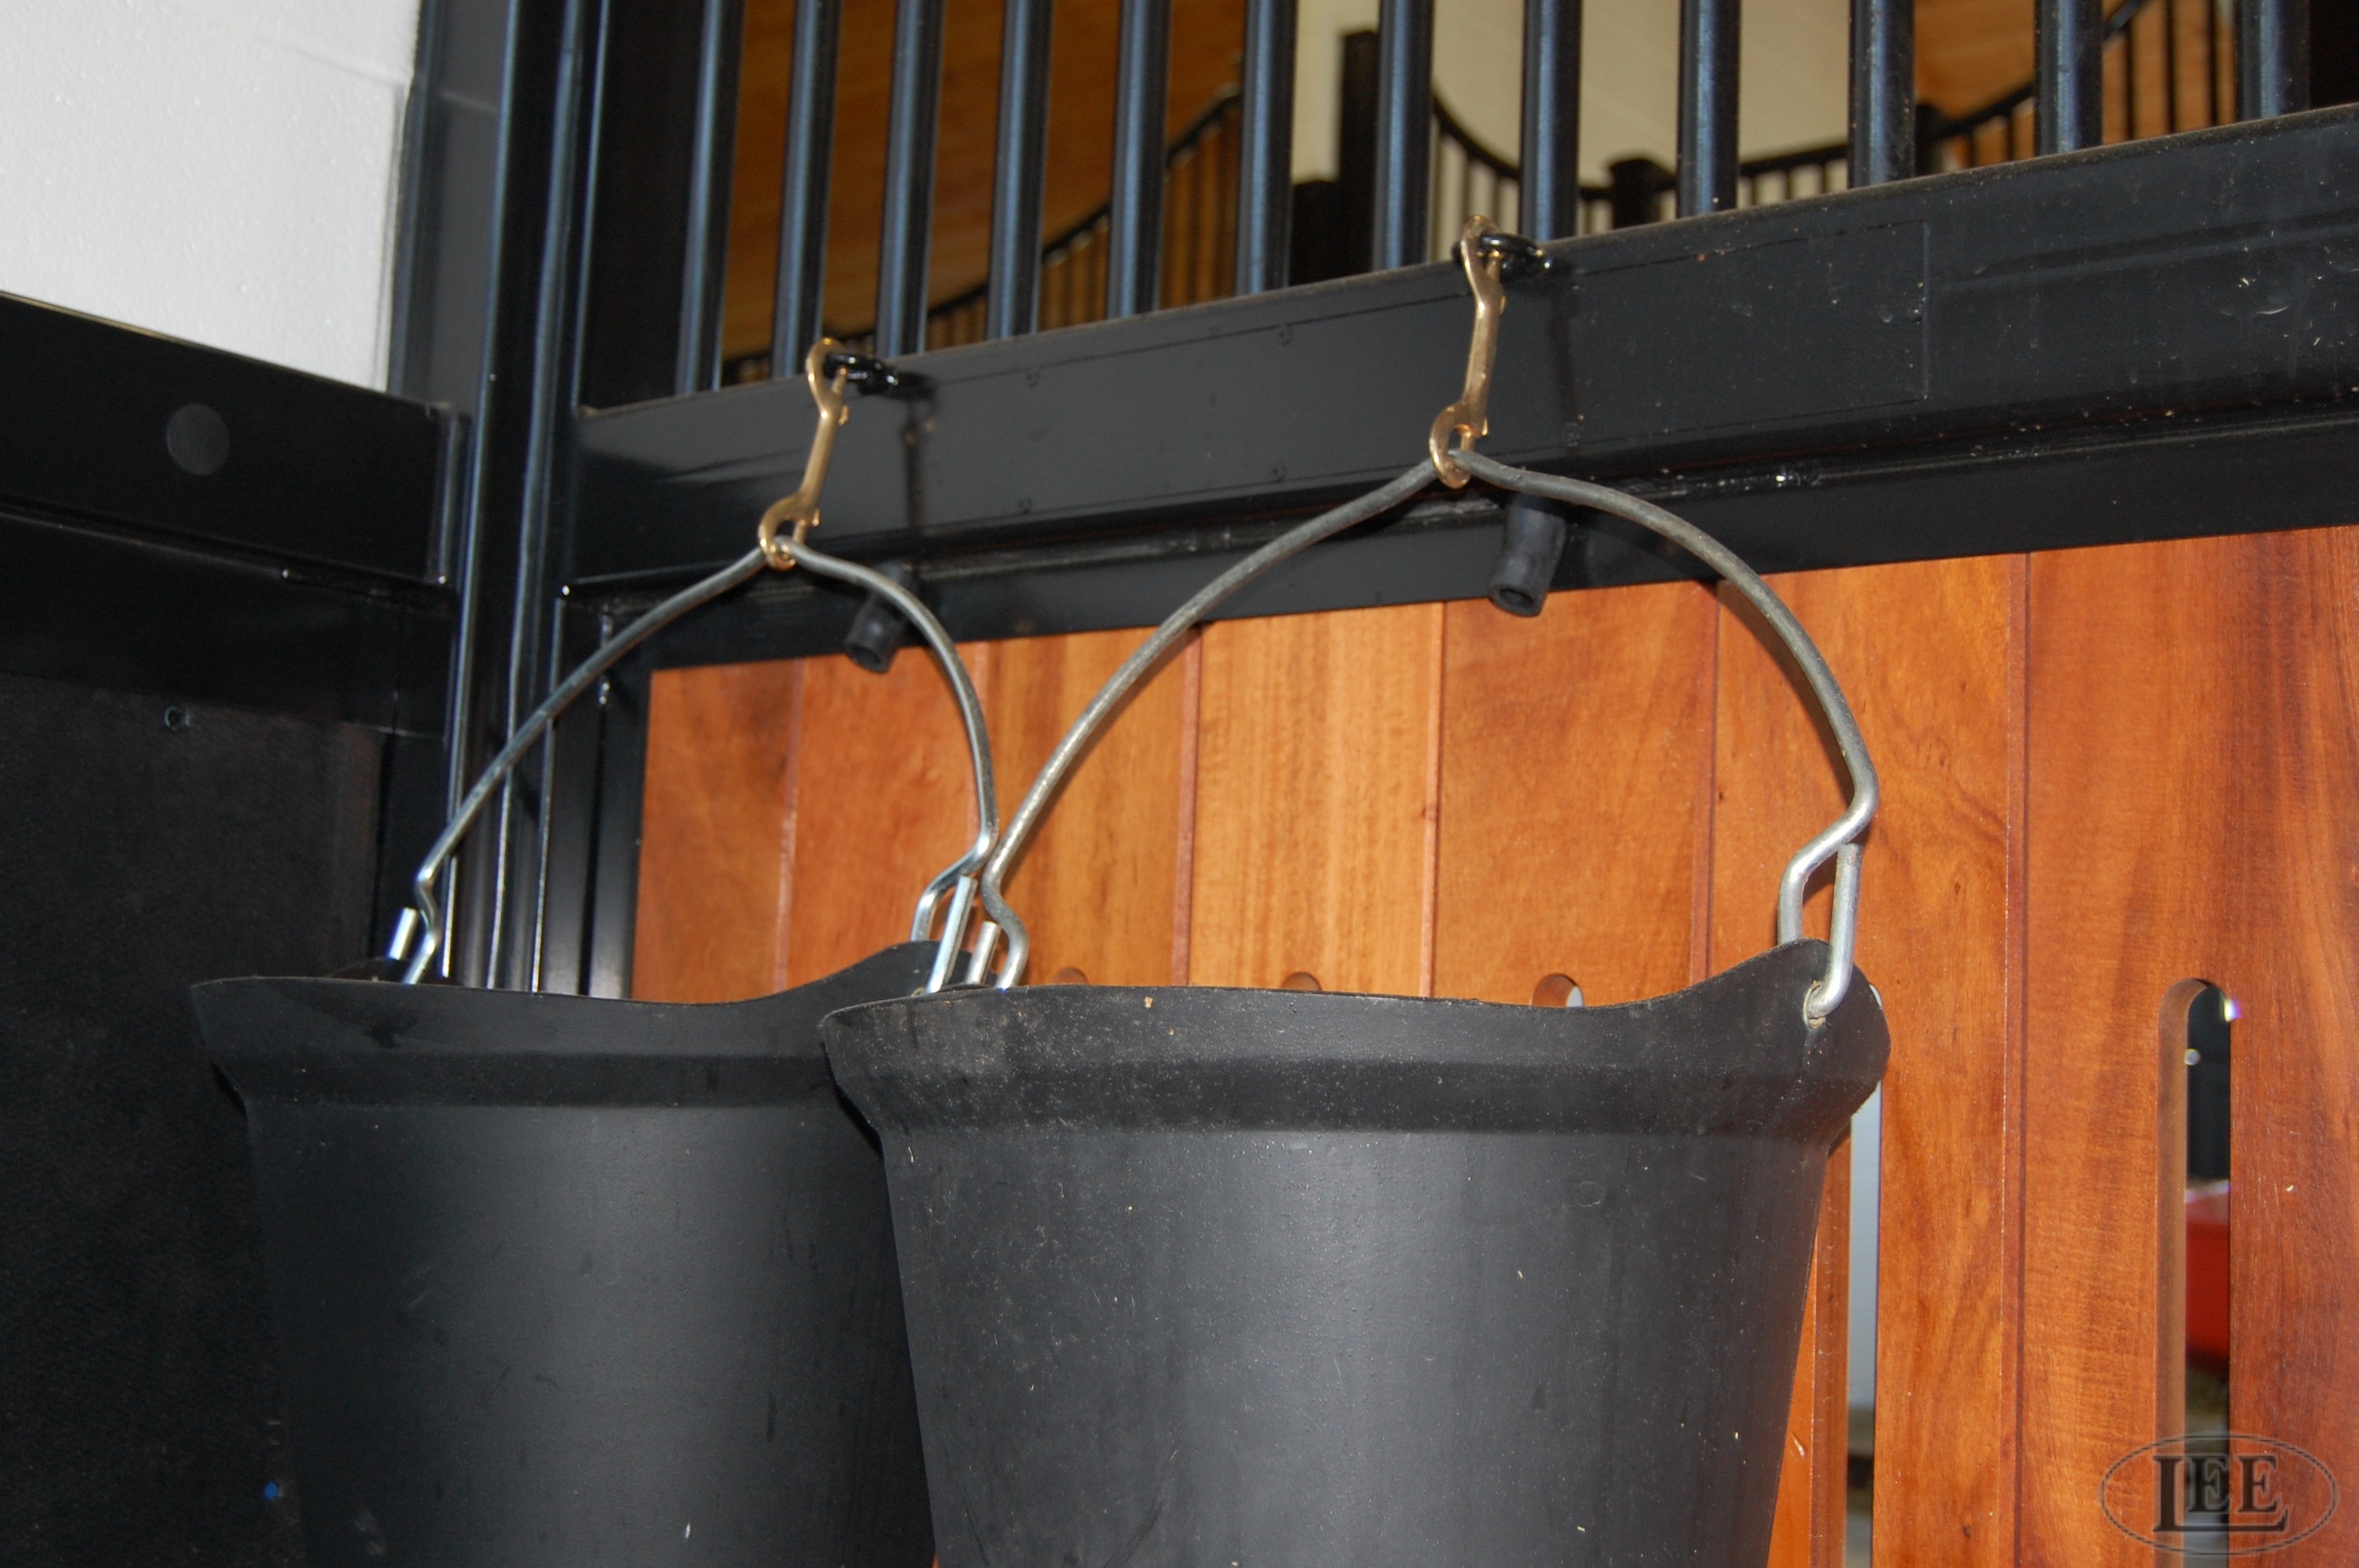
Feed & Water: #1
Feed & Water: #1
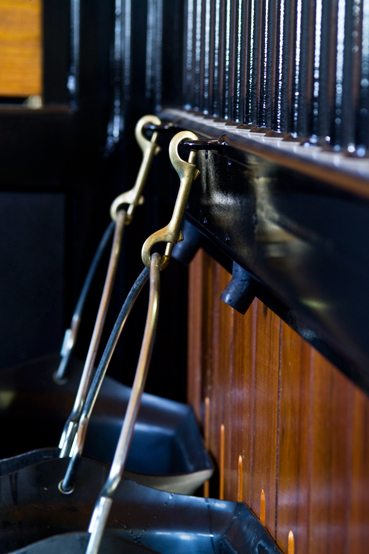
Feed & Water: #2
Feed & Water: #2
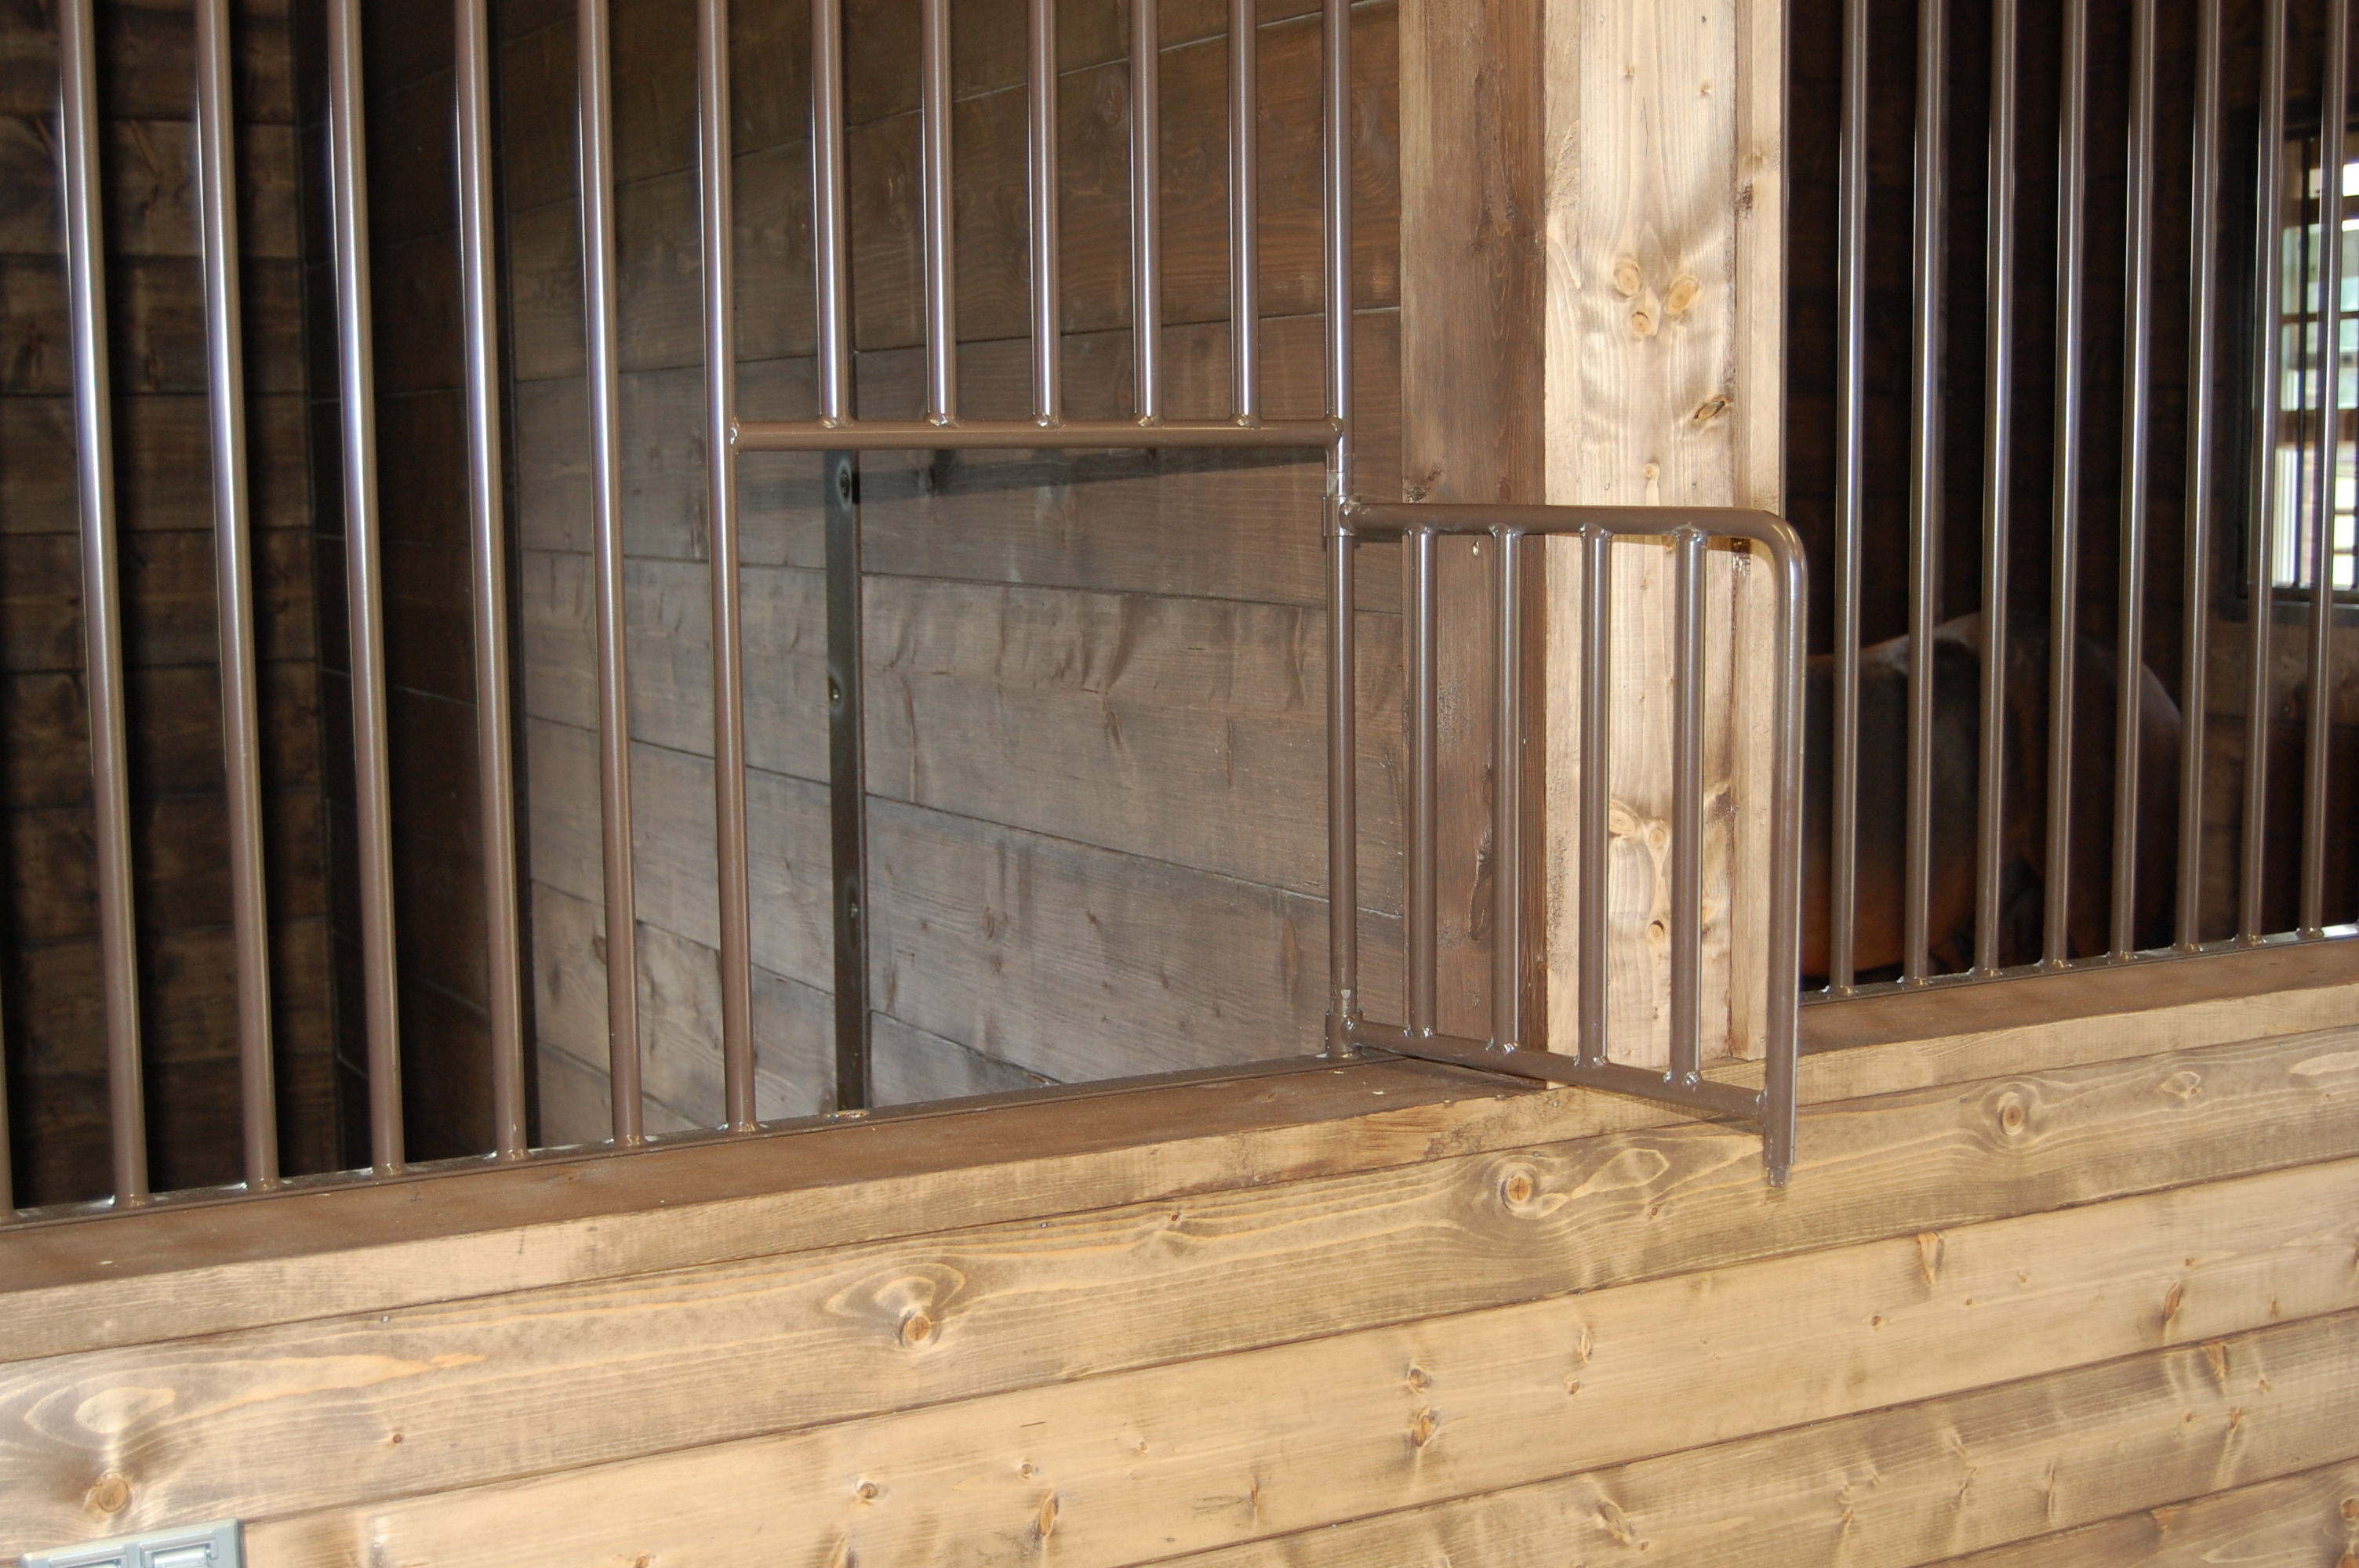
Feed & Water: #3
Feed & Water: #3
Something went wrong with sending your email. Please make sure that the email field is filled out.